- Mintlify uses access tokens to pull information from GitLab.
- GitLab uses webhooks to notify Mintlify when you make changes, which enables preview deployments for merge requests.
Set up the connection
Find your project ID
In your GitLab project, navigate to Settings > General and locate your Project ID.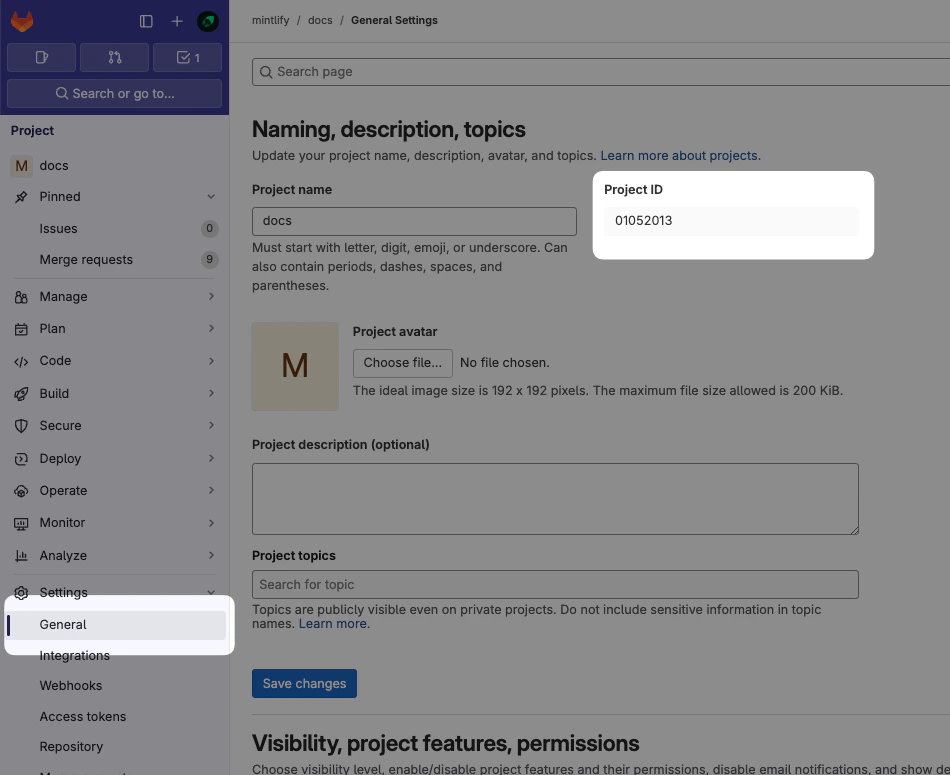
Generate an access token
Navigate to Settings > Access Tokens and select Add new token.Configure the token with these settings: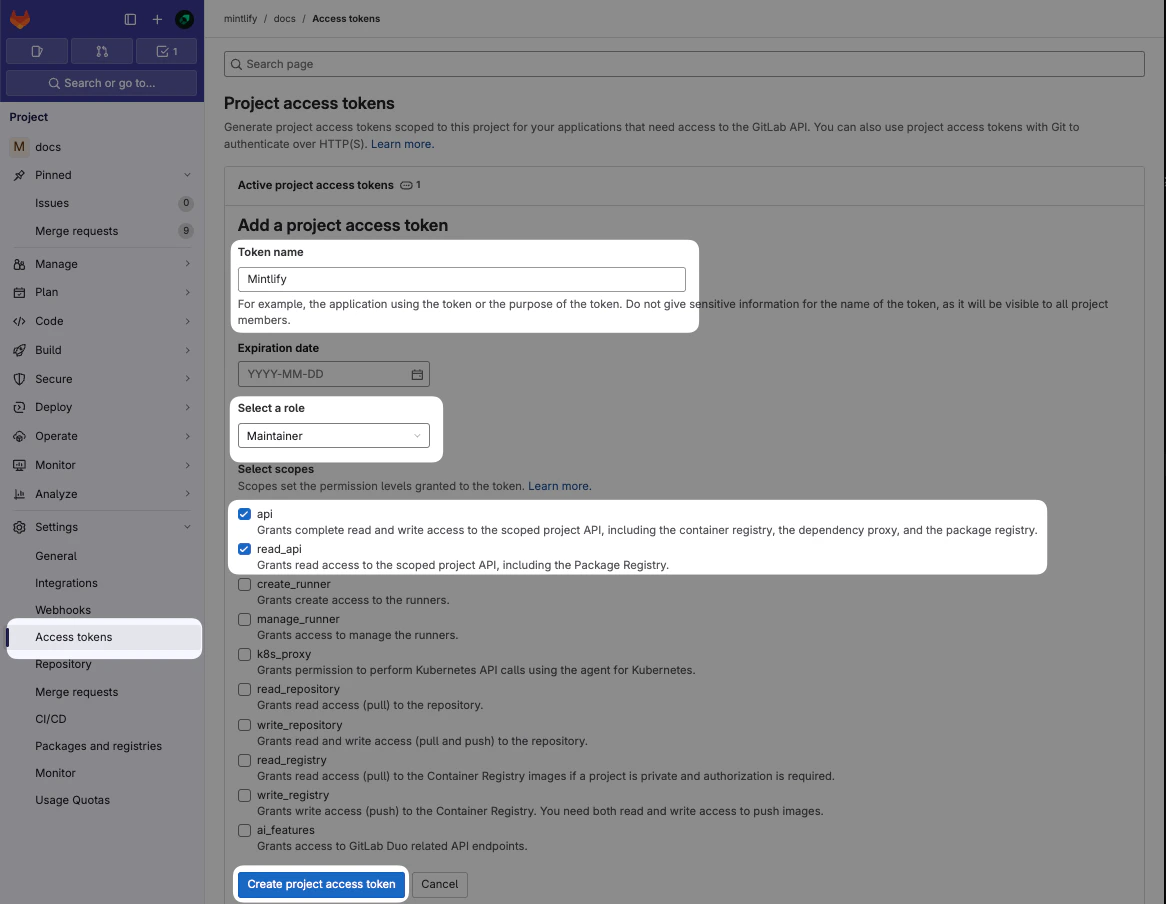
- Name: Mintlify
- Role: Maintainer (required for private repos)
- Scopes:
apiandread_api
If Project Access Tokens are not available, you can use a Personal Access Token instead. Note that Personal Access Tokens expire and must be updated.
Set up the connection
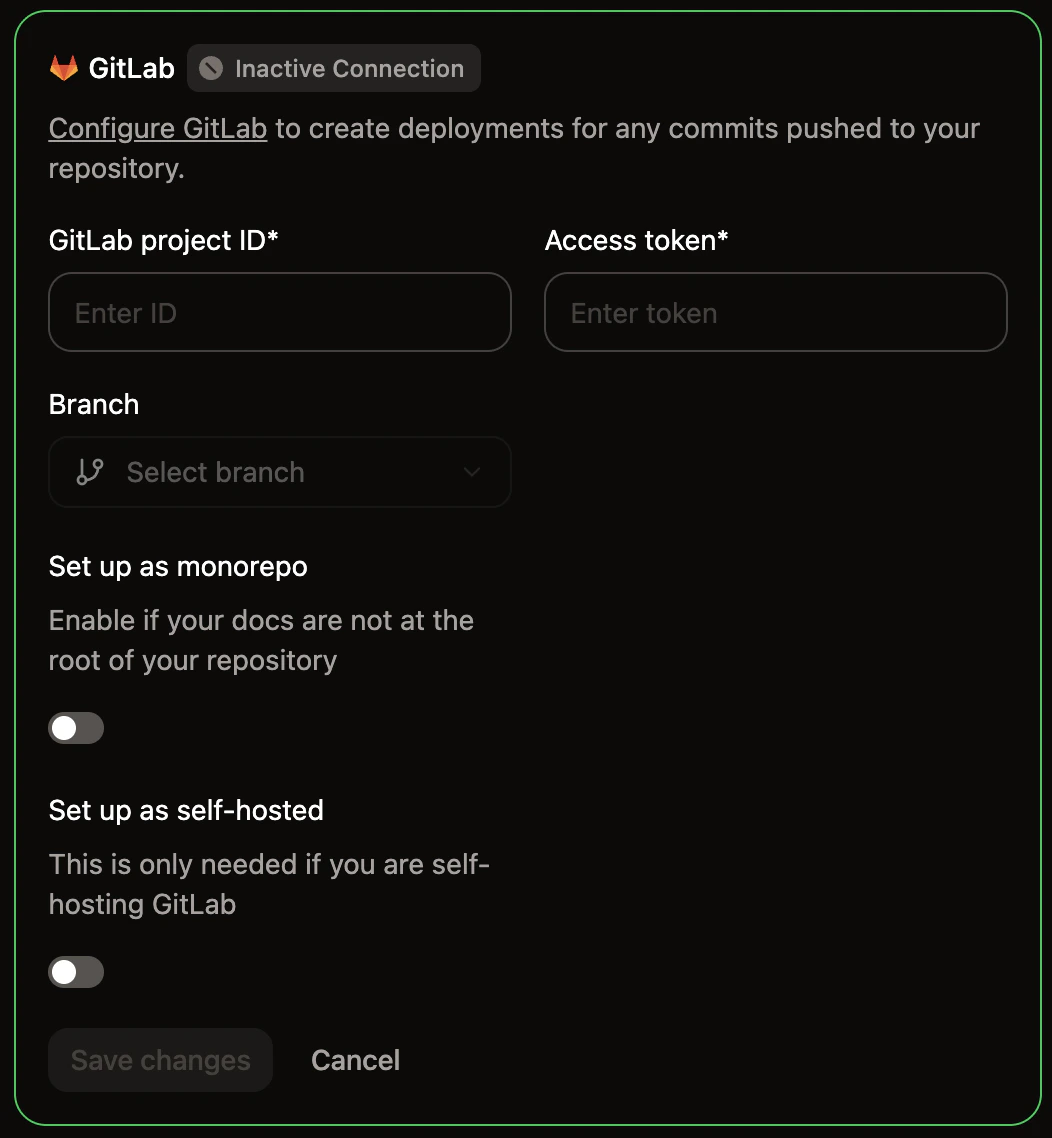
In the Mintlify dashboard: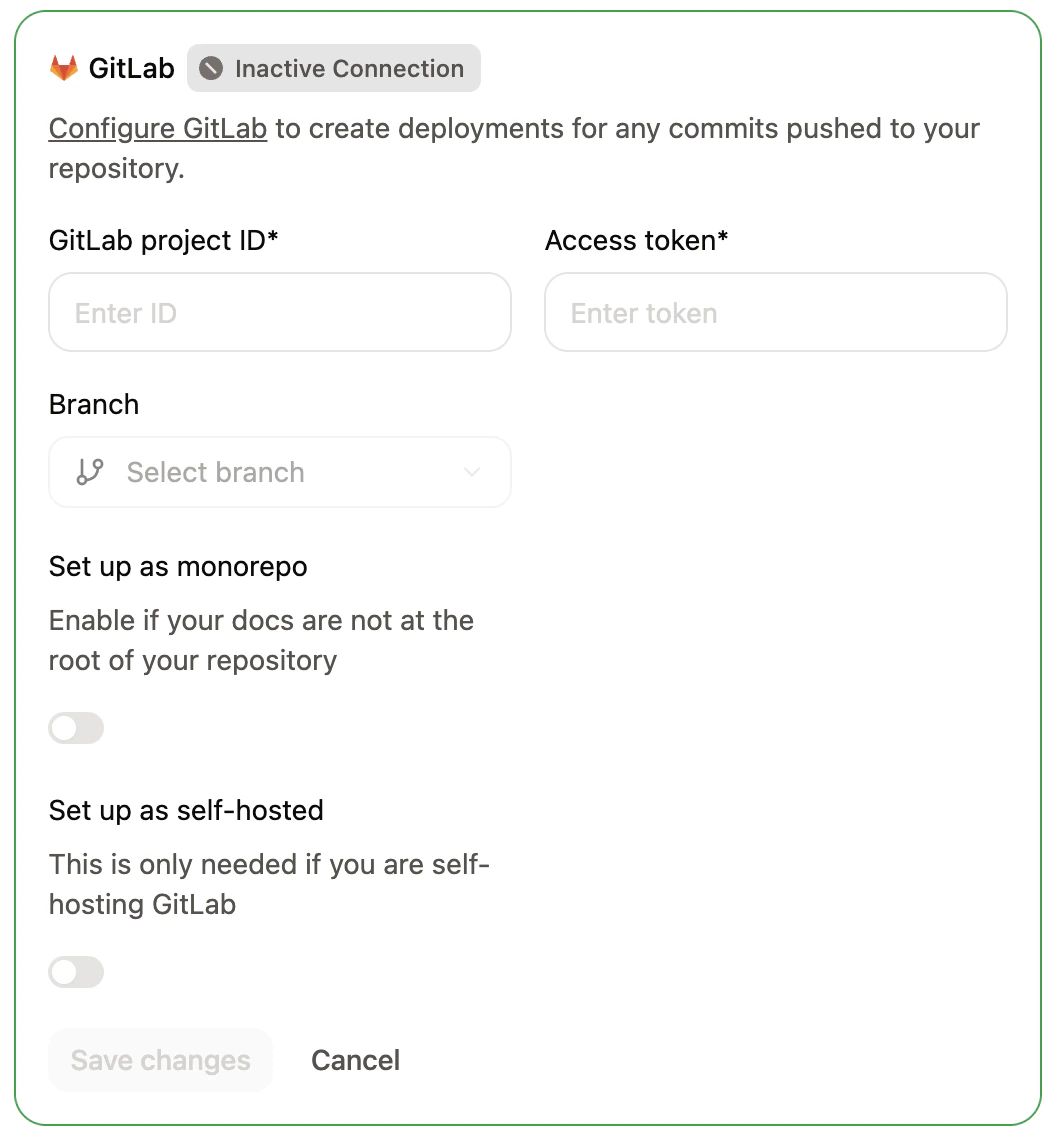
- Enter your project ID and access token.
- If you have a monorepo and your documentation is not at the root of your repository, enable the Set up as monorepo toggle and enter the relative path to your docs directory.
- If you use a self-hosted GitLab instance, enable the Set up as self-hosted toggle and enter your GitLab instance’s host URL (for example,
https://gitlab.your-domain.com). Your instance must be publicly accessible for Mintlify to reach it. - Select the branch to deploy your documentation from.
- Click Save Changes.
Create the webhook
Webhooks allow us to receive events when changes are made so that we can automatically trigger deployments.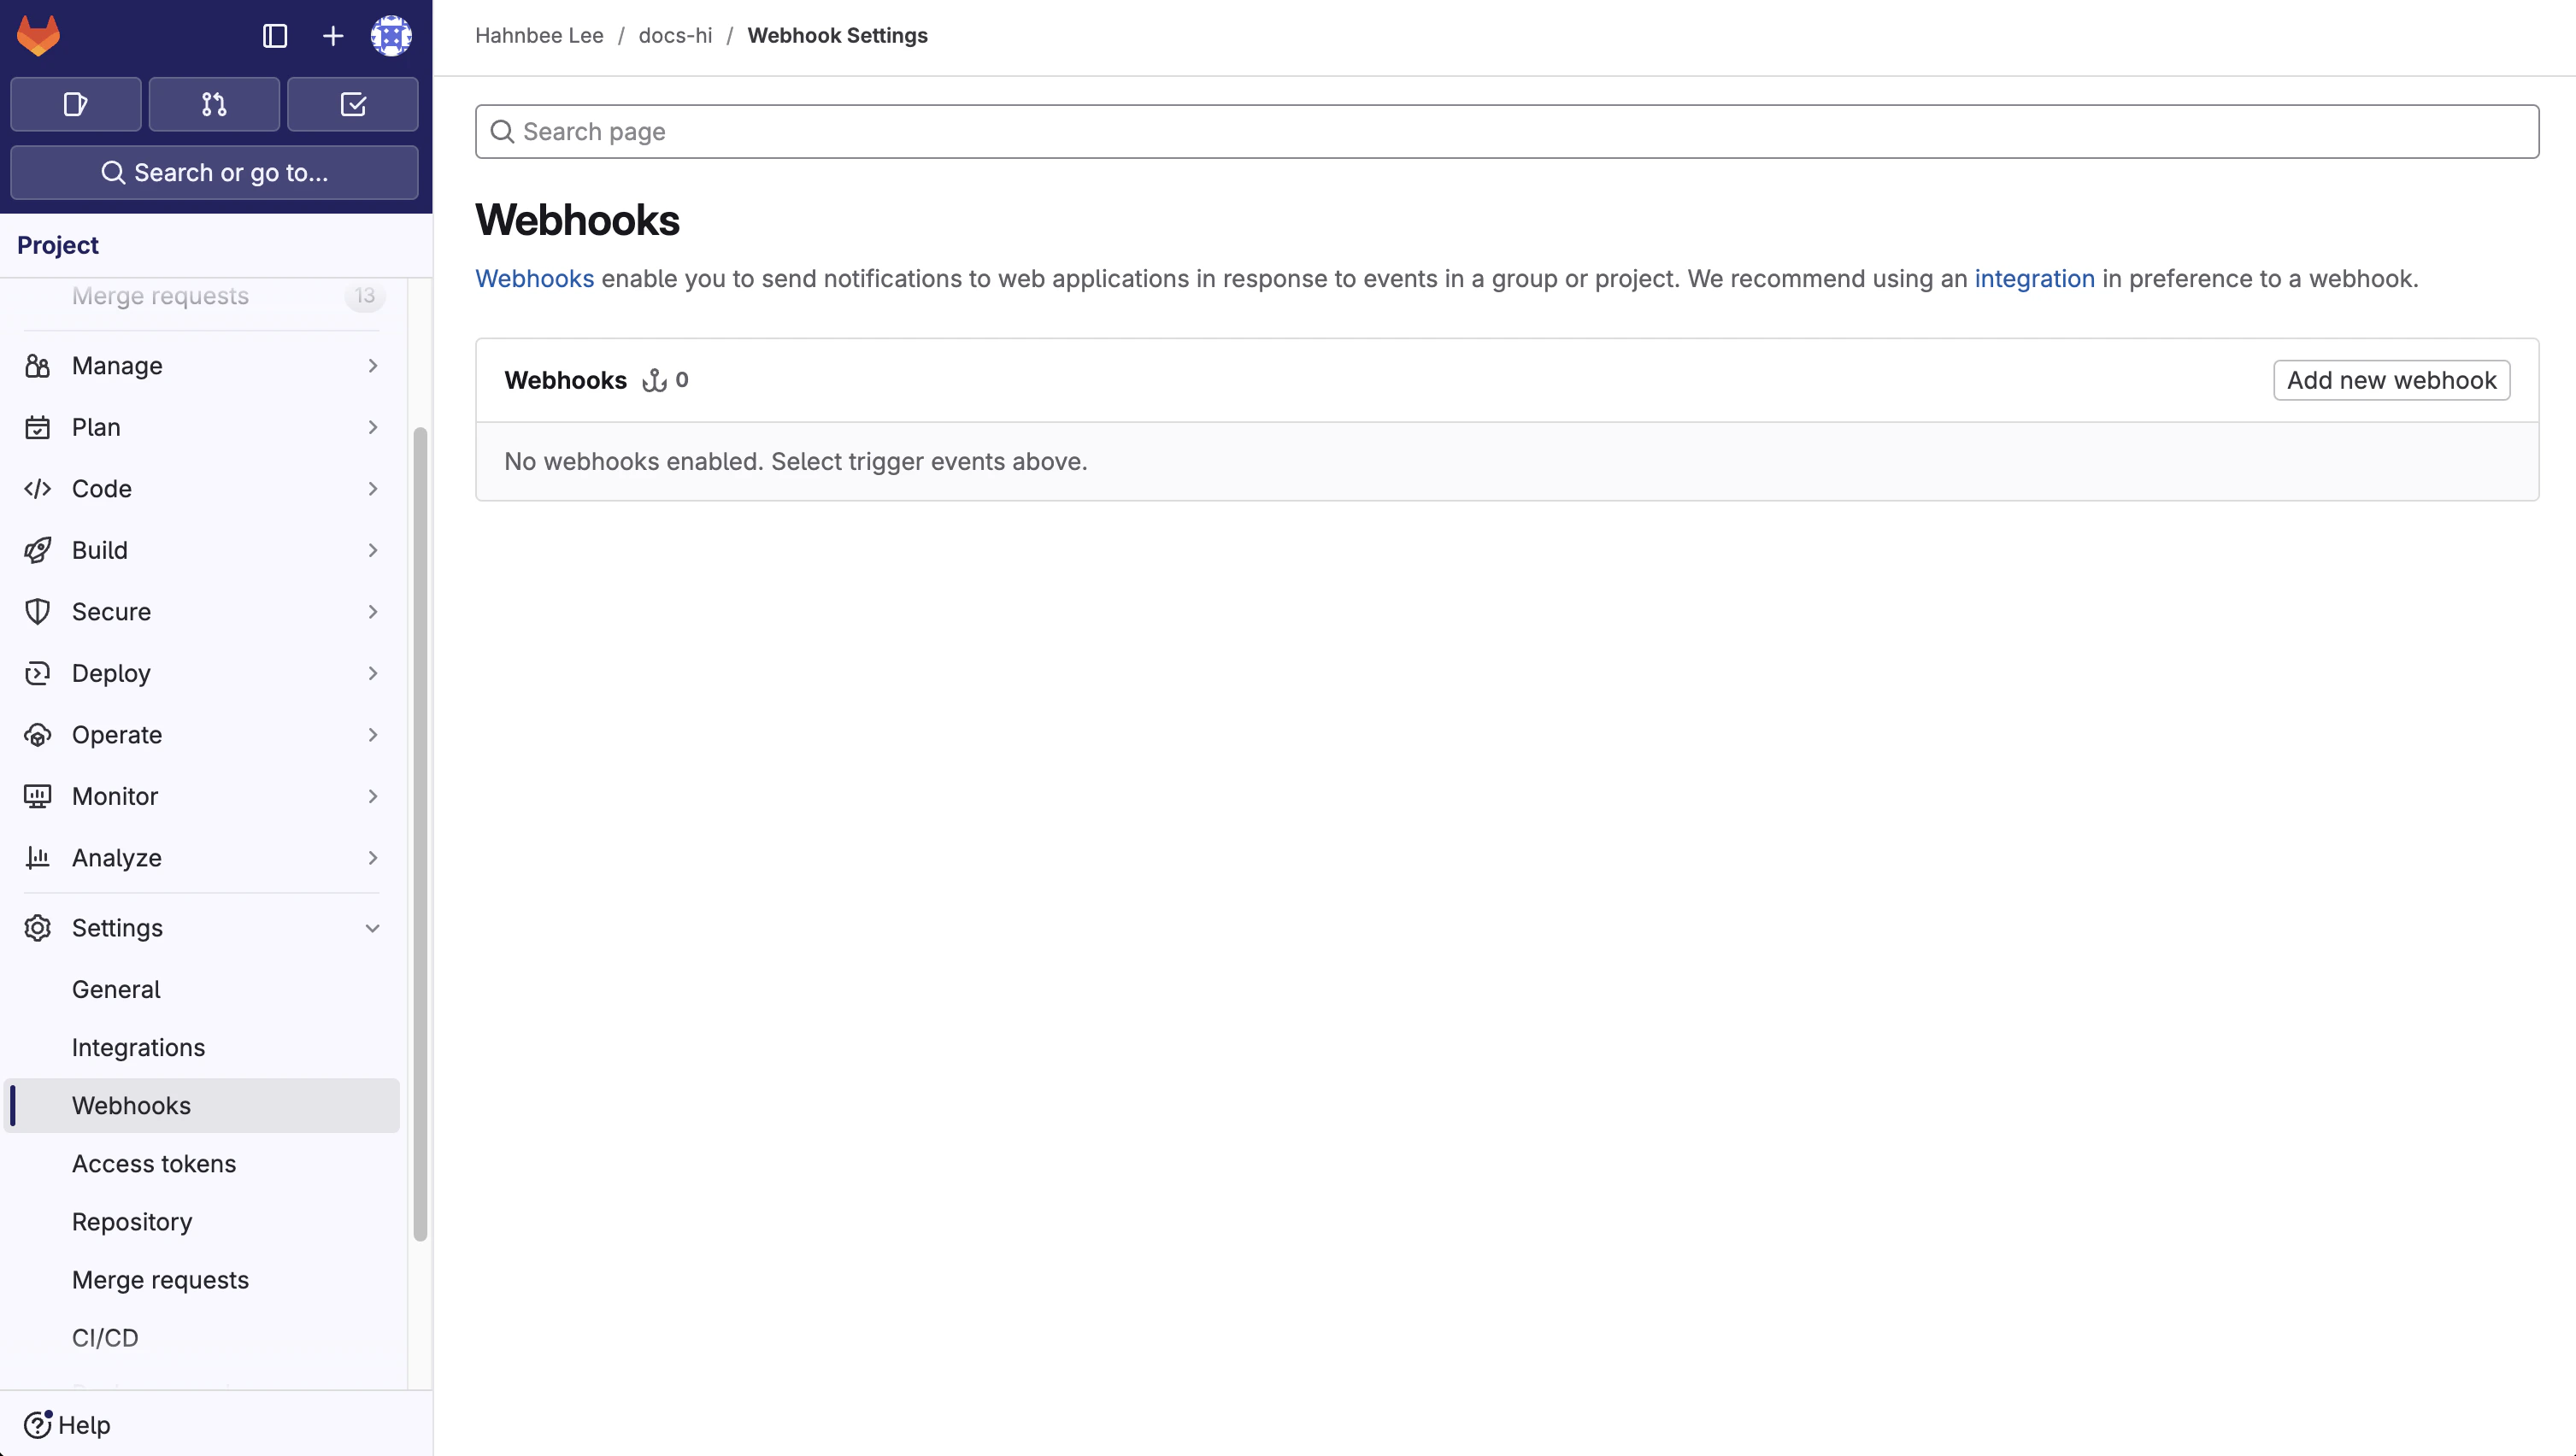
Set up URL and webhook
Name the webhook Mintlify.In the URL field, enter the endpoint
https://leaves.mintlify.com/gitlab-webhook.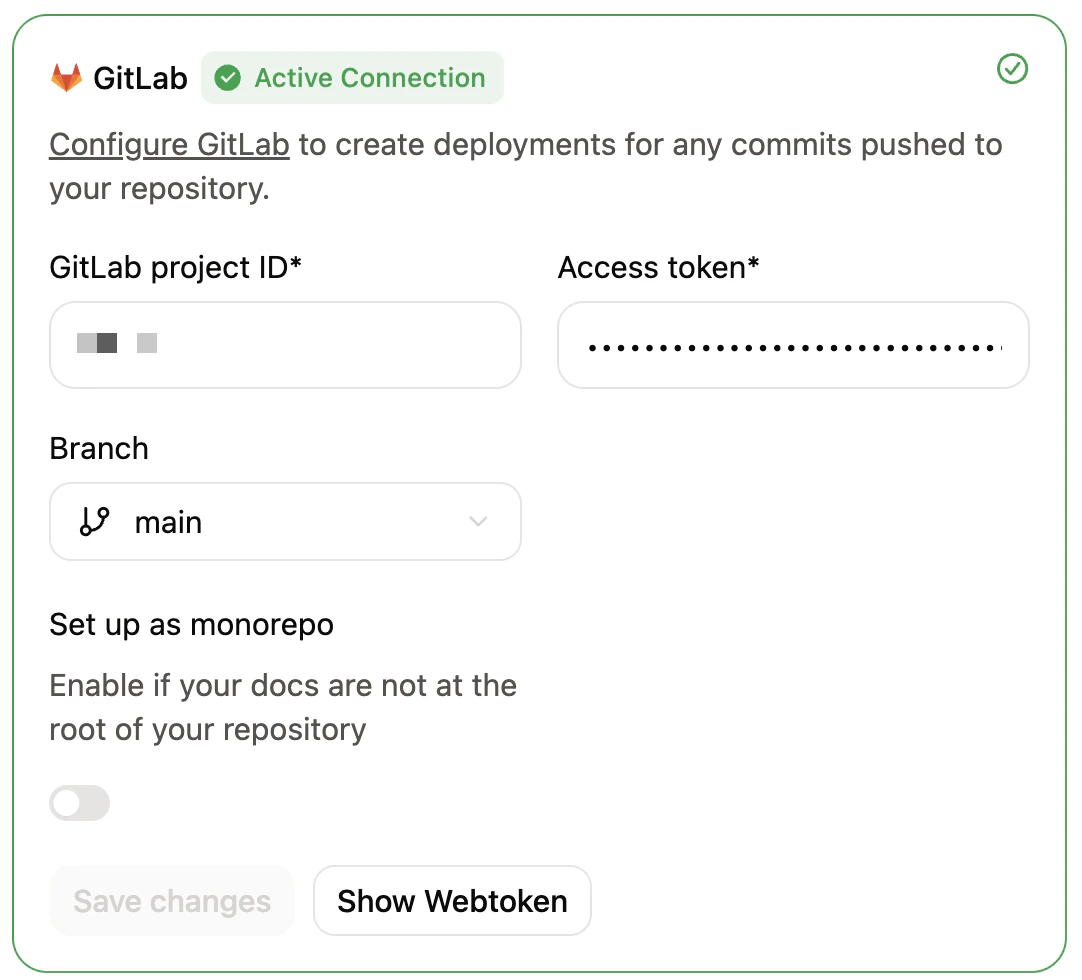
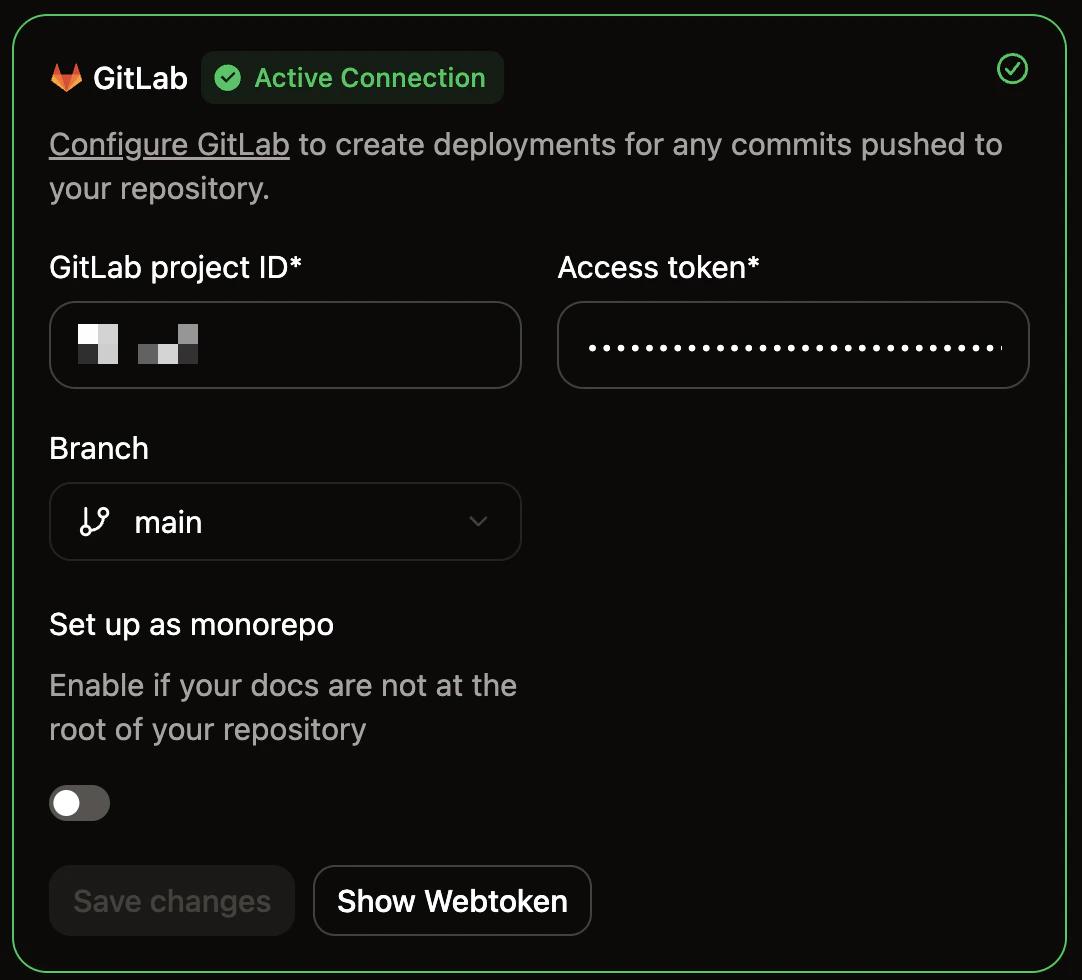
Paste webtoken
In GitLab, paste the webtoken from your Mintlify dashboard in the Secret token field.
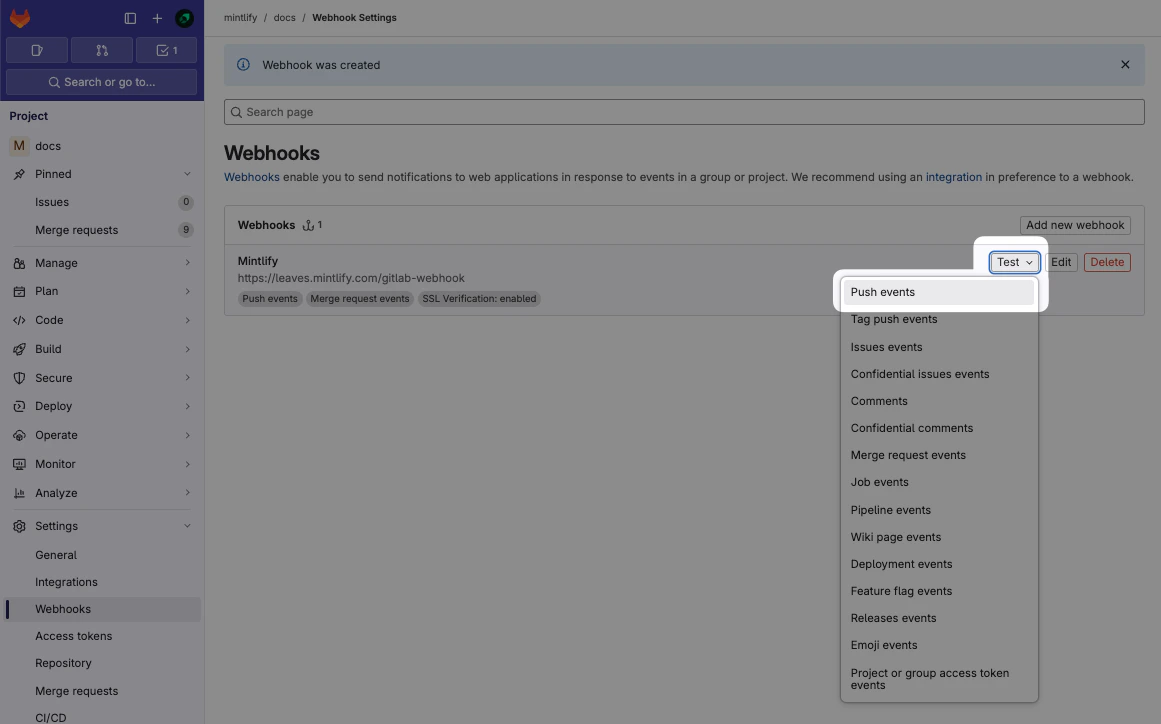
Select events
Select the following events to trigger the webhook:
- Push events (All branches)
- Merge requests events
Verify the webhook
You should see the following settings after configuring the webhook:
- Name: Mintlify
- URL:
https://leaves.mintlify.com/gitlab-webhook - Secret token: The webtoken from your Mintlify dashboard
- Events: Push events (All branches) and Merge requests events